Monday, October 6, 2008

one week to go


...weddings in the Uk, wife, children, novel, editors, agents, forgeworld delays: it's tough trying to get an army painted these days. But with six day to go I'm back in the saddle.

Now my forgeworld heads have arrived, I've painted and put the drivers into the sentinels, which are finished with bits of vegetation in the ruins.

I've painted up some crew to go into the tanks:


And ebayers have come through with the last plasma guns I need. The heads of the grenadiers are surpisingly easy to clip off, and i've altered these guys a little with alternate head directions.


I've done a little more with the sergeants. My commander is the guy with the hat, and the other guy is leading my drop troop platoon.

And i've based all the figures i need, and have the four ogryns and about 20-odd guys to paint. Should be easy. :P

Saturday, August 23, 2008

Tanks

And here are some pics of the various tanks OI've been working on. They are the same painting scale as above, but as well as this i've used some dirtying/weathering techniques I've notused before.

I've used pastels to add dirt and footprints to the tanks. I airburshed gryhonne sepia around the tracks, then added a mix of weathering pastels and and vallejho plastic putty as mud, with static grass added in clumps to simulate turf that has got churned up by the tracks.

The rust weathering powders were a little underinspiring when mixed with water, and so I've ordered some mig pigments, which I've heard work better.


The chimeras were quite important to the look of the army, which is basically a mech grenadier list, with a platoon of drop troops - and the overall theme is blitzkrieg in the 41st millenium. As these are a high tech army i ordered predator turrets, which give a much cooler silhouette to the tank.

Sentinels II

Ok - so spent about an hour air brushing these guys. They're looking much better already. Currently in 'rough' airbrush shape. Initial black undercoat, charadon granite base, then adeptus battlegrey, then astrononicum grey and then dots of black and afew more bits of Charadon Granite.
The red/white colour markings are the same as the tanks, and the red is the same base as the kasrkin's armour red.


next steps will to be to drybrush the sentinels, and paint in the markings and guns etc. And then the bases. I've modelled some green stuff to be a splash, and looking forward to working out how to paint this.

Thursday, August 21, 2008

Sentinels


Wanted a break from tanks and decided to get these guys out and ready. They've been sitting in detol for a couple of weeks and now ready for sending back out to the battle front.

Wanted them interacting with the terrain in an interesting way: so one is splashing through the goop, while the other is dashing to get a good shot in.

Weapons and missiles are both magnetised.

These are forge world drop sentinels.

Monday, June 23, 2008

Ogryns 1

What else does a blitzkrieg genadier mech army need than a tank full of ogryns: since I saw these figures last year, I knew I needed some of them and have managed to squeeze a unit of 4 into my prospective GT list this year.

First base: bases..... wanted to use something that gave a nice impressive look, and the army is going to be based on a green slime/concrete slab world. A couple of smashed aquillas make up a couple of these bases.

image

image

image


image


There's not too much remodelling that the new ogryn figures need: they're really well sculpted and look much better than the last lost of gumbies.


some of the ogryns on their bases:


The only guy who looked a bit crap was the bonehead, so I cut off his arm and wired him upto a rejigged sentinel power lifter arm:


His arm seemed a little too long and stiff in this pose, so I cut through the piston arrowed here, and turned this into a moving joint, and repositioned the arm turning in a little, to snap off someone's head.


I gave him some more wires, and a another shoulder plate,


And a battery back pack on the back. Leaving this to dry before I come back and add some more details to his power pack

Thursday, June 19, 2008

IG Regiments

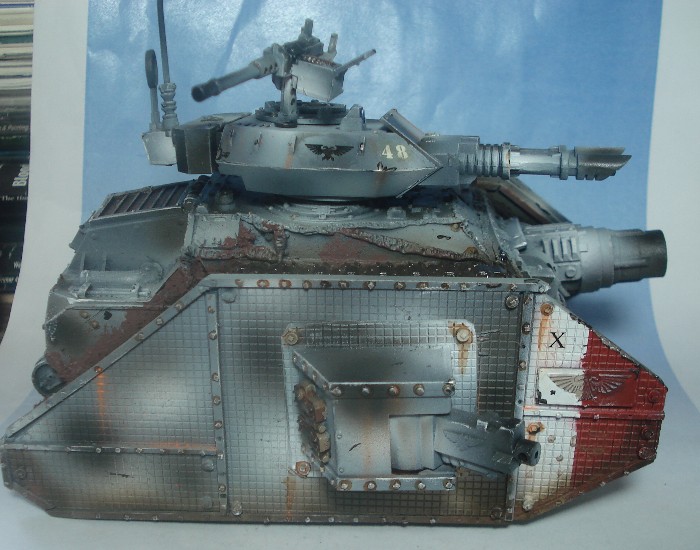
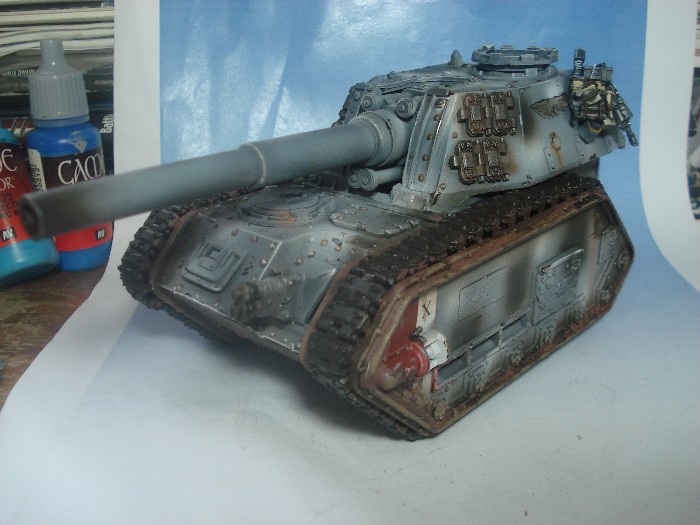
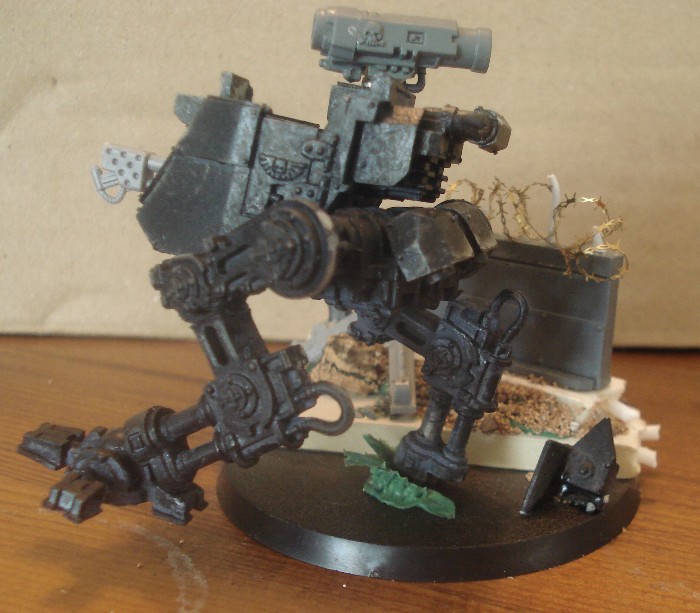
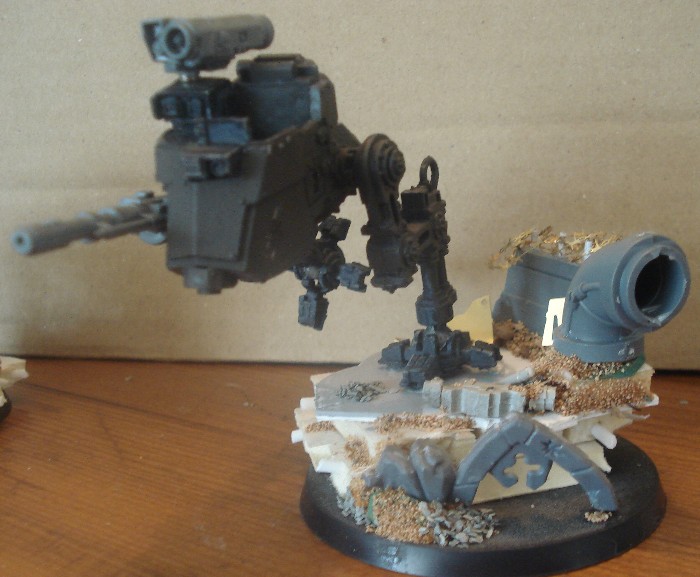
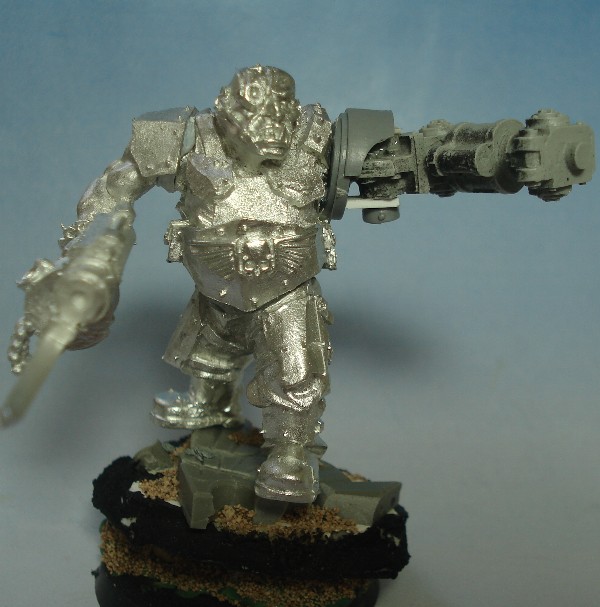
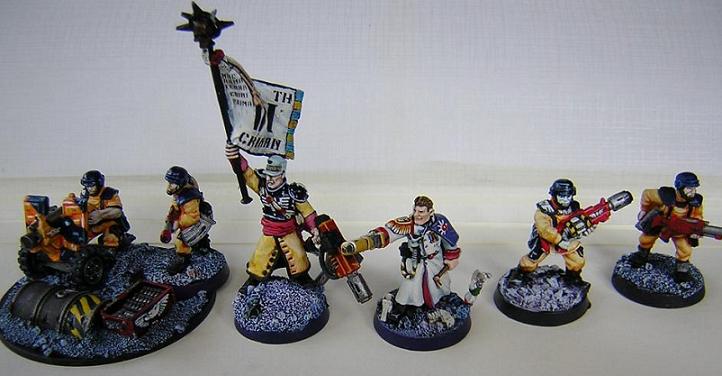
Bell of Lost Souls had a create your own IG unit competition recently, and I missed that completely, but thought I'd play around with some figures, and came out with these: used the new washes on the barrels of the guns and also on the metal of the cadians. Really impressed with these: they dry quickly, come out at a fairly 'normal' strength, meaning they dont need watering down to use fresh, and also they dry matt and very evenly, which I was very impressed with.

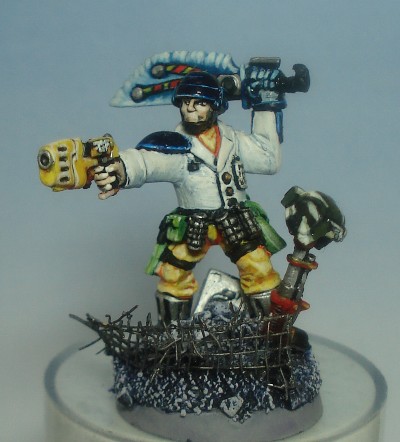
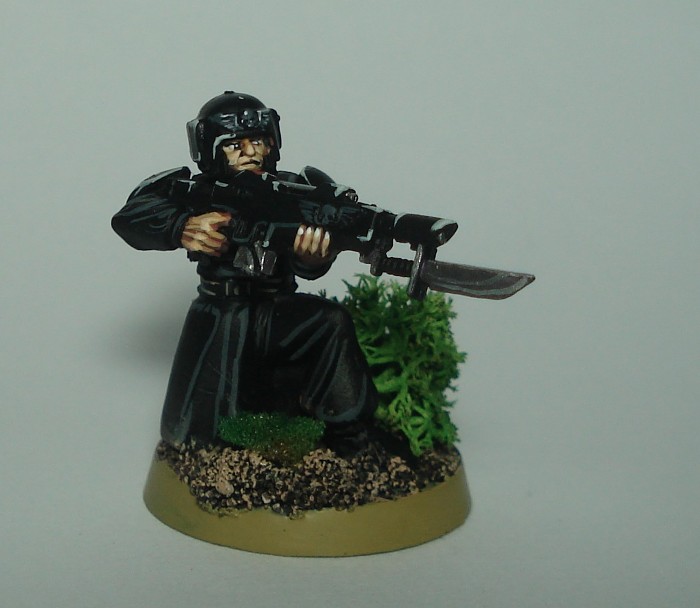
Cadian Panthers: I had a picture of this guy in my head for a while: a cadian trooper in pure black. I altered him a little by using old elf legs to get the kneeling pose.


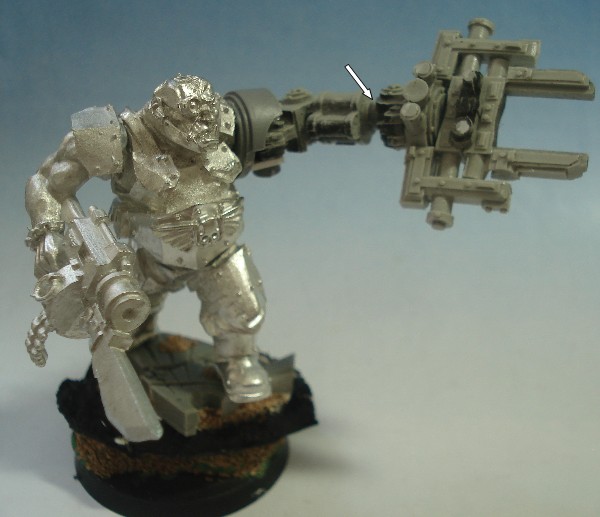
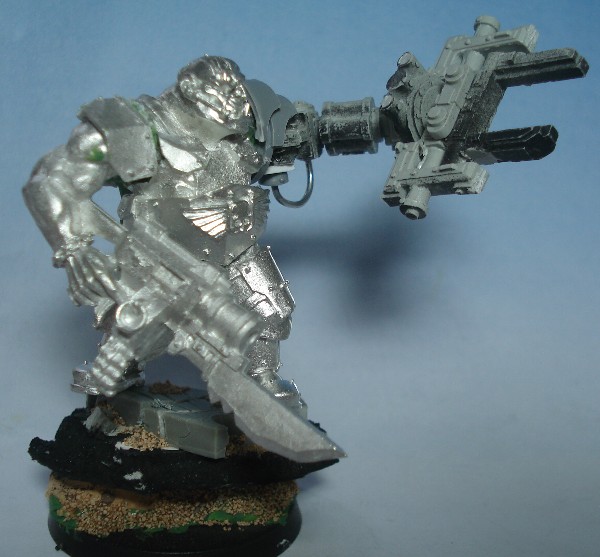
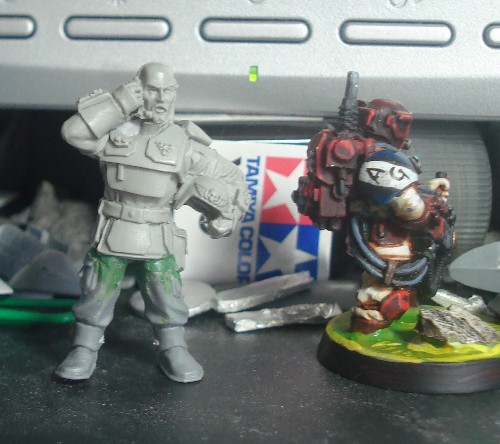
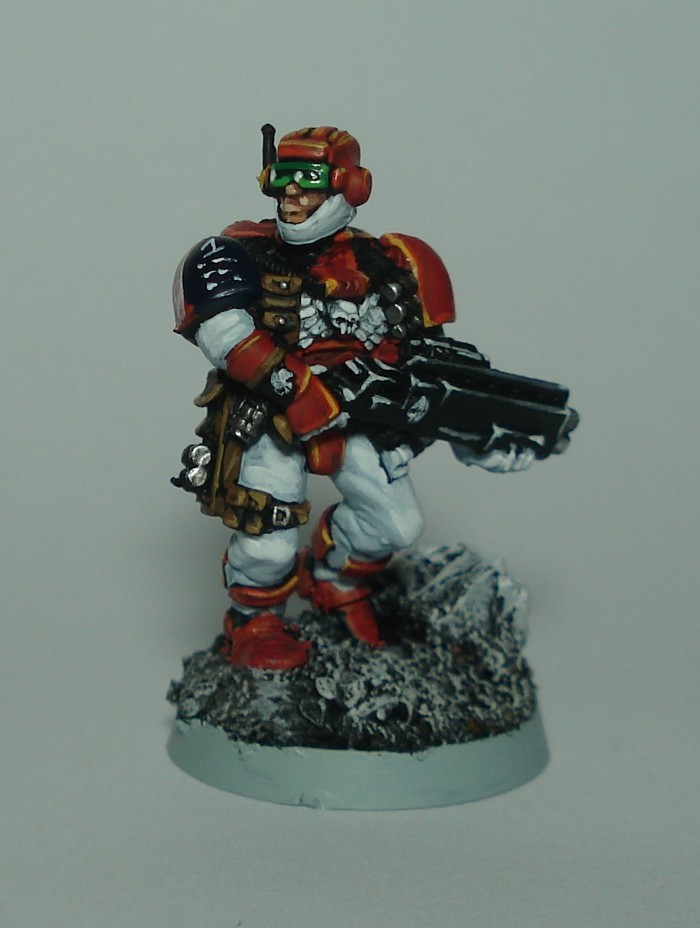
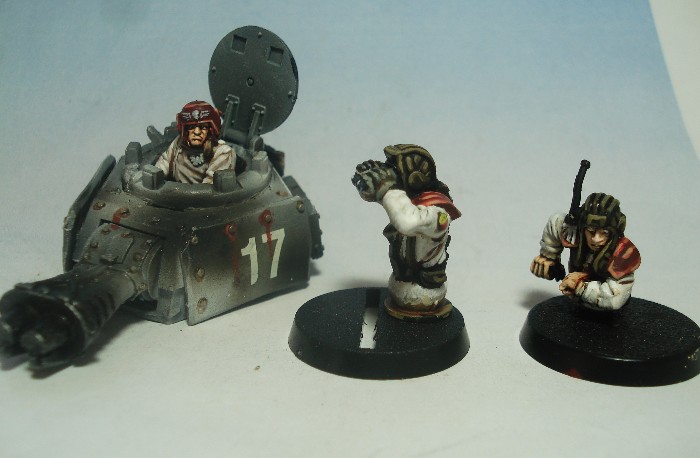
Colca Stormhawks: there's a unit of carapace armour drop troops in the back of the IG book, but I based this guy on the original Elysian Drop troops from a white dwarf article after Armageddon. Actually, I think I'm going to use this guy as a base for fdrop troops for my Mech Grenadier list.

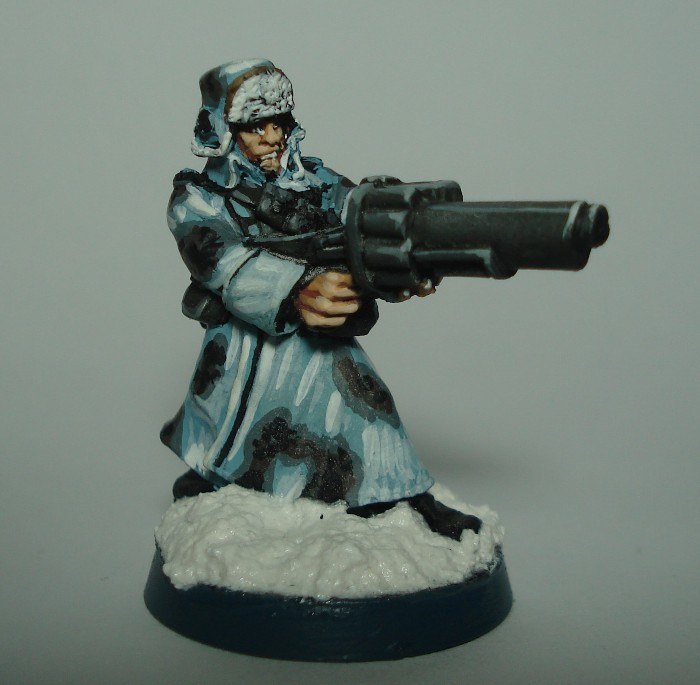
Valhallan 501st 'Icebreakers'
When I bought my metal IG army, why the hell didn't I buy Valhallans?! The figures are awesome, and for some dumb reason I bought Tallarn and then switched to the metal Cadians. Got some of these guys again to be crew for my space ship, and love them. Didn't do anything particularly spectacular with this guy, just a dappled camop scheme of three or four colours, and then used a black weathering powder on his gun barrel, which didn't really come off with the dark shades already. Also used a mixed GW wash on the grenade launcher, and it shades really nicely, which I touched up with grey highlights.
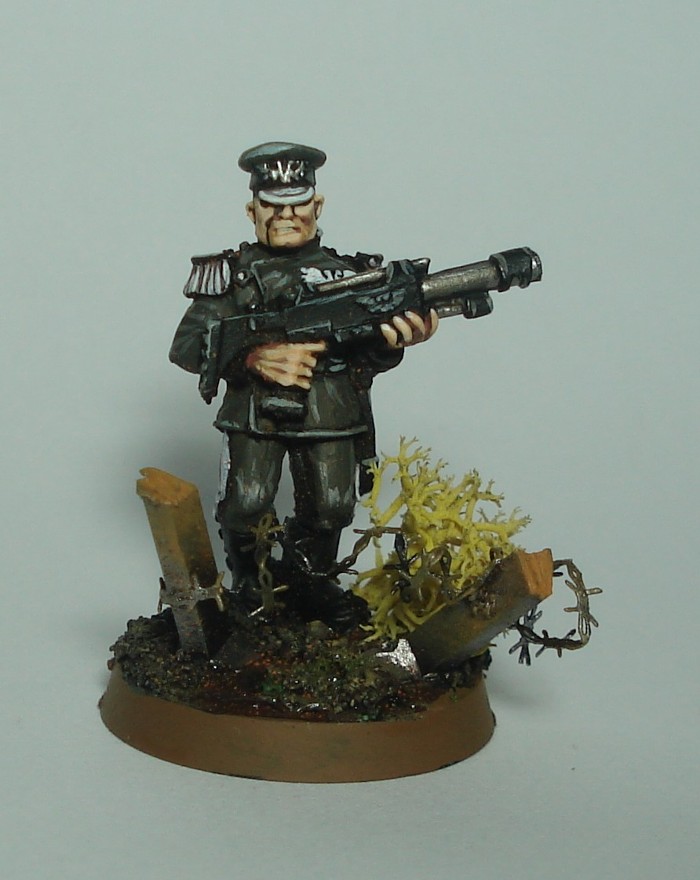
Mordian XIVth 'Greencoats'
I got a few Mordians to be officers for a Imperial Navy crew IG list I am going to paint someday - but never really liked the Mordian figures I'd seen painted before: but actually really enjoyed painting this guy. Went for a German WWI colour scheme, a kind of off green and grey mix. Really nicely modelled, and i used a black/brown wash on his gun barrel and a highlight of boltgun and mithril. Also played around with some new weathering powders on the rust of the barbed wire posts. I imagine this guy part of some sucessful, though catastrophically costly, Mordian assault, across No Man's Land on some godforsaken planet, and wanted the base to tell the story.


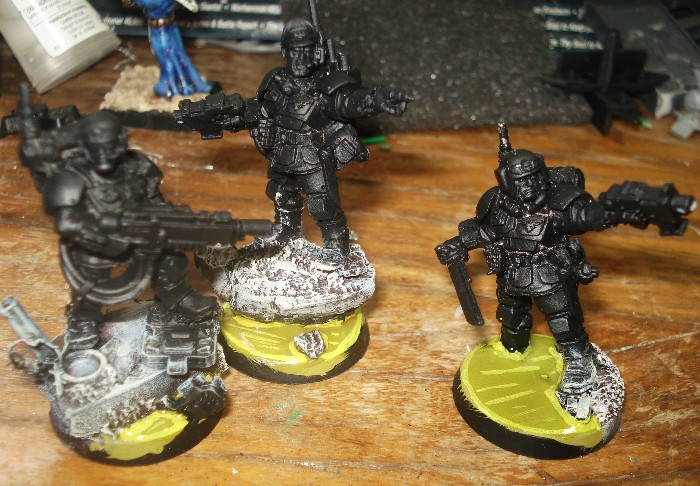
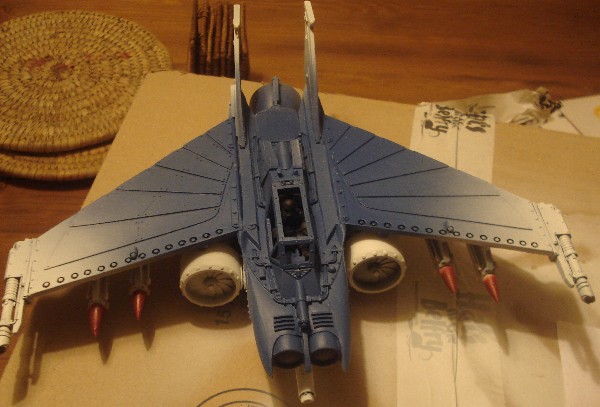
Suprised myself how much fun I had doing these guys: and the Stormhawk allowed me to test a slightly brighter paint scheme for my mech grenadiers. I prefer the duller armour plates of the original, but think I'm going to go with the grey base of the uniform, rather than brown, as it gives them a more high tech look. Also very impressed with the washes: they cover really well, don't leave water marks, and dry quickly and matt. Awesome!
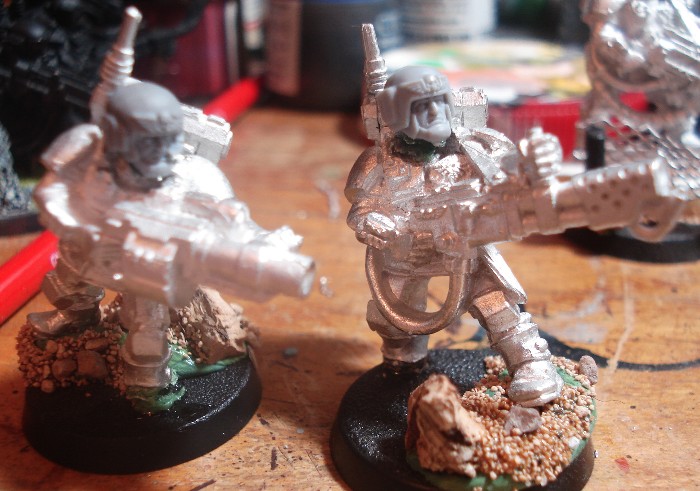
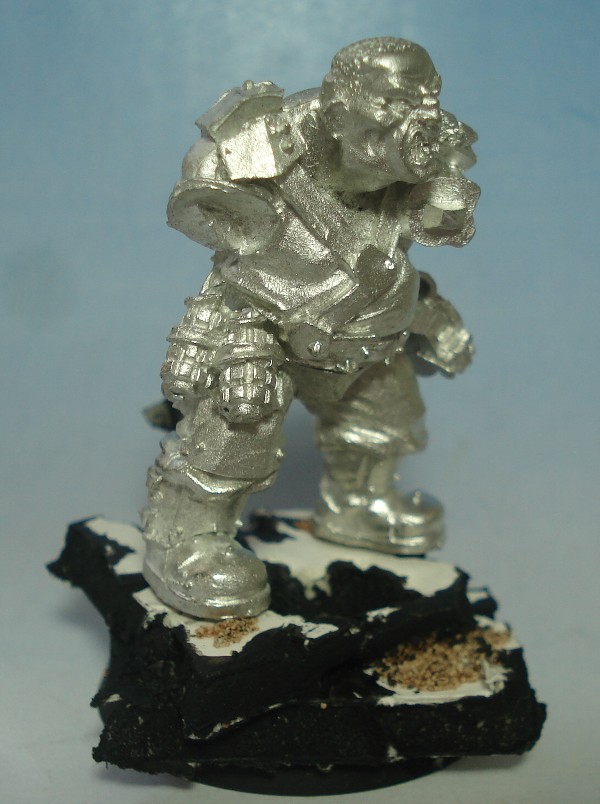
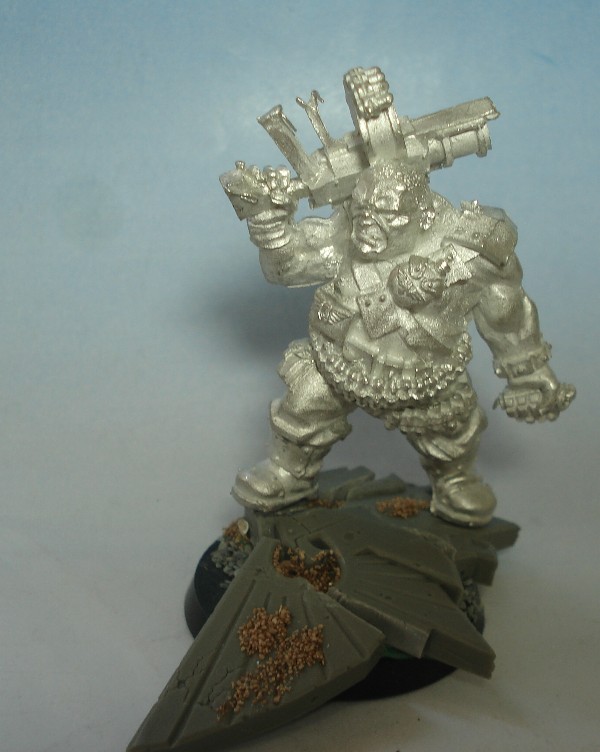
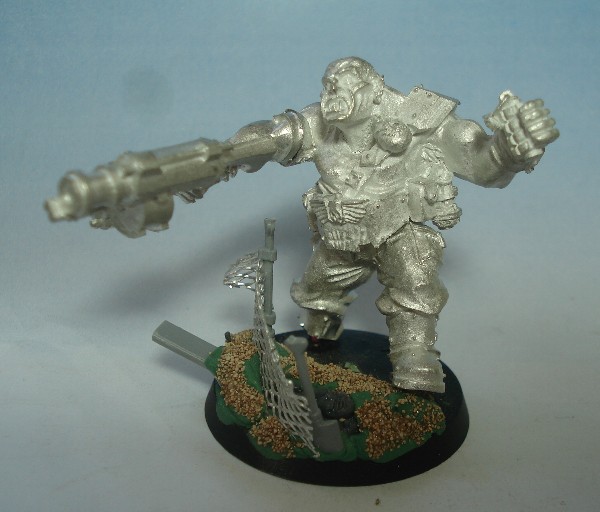
Wednesday, June 4, 2008

Sneak Peak: IG commander

Quick sneak peak of a commander I'm converting up from one of forge-world's tank commanders. Forge world figures are really nice to paint, full of life and character, with good faces, and nice bases for unique models. I've done a couple of these before, and now I thought i'd try a new one for my mech IG

image

image

image

His body was a little too long, and his hips too narrow, but I played around with the legs for a while till i thought he looked normal. Then a bit of green stuff to fill in the gaps.

Monday, June 2, 2008

Imperial Navy: Lightning II

I used magets to stick the pilot into place, the cockpit cover down, as well as the engine cover, just behind the pilot. The missiles I wanted to make removable as well, and drilled a couple of holes into these. I found that the magnets made them just heavy enough that they fell off the holders, so ended up putting a line of three magnets along thier lenght, and glued a straight piece of paper-clip onto the missile holder to get a good grip.

I talked earlier about putting more than one magnet into a hole: here's an example of the magnets used to keep the cockpit in place, in a hole drilled three-deep.

image

When all was ready it was time to spray the plane up. I sprayed the plane black first, and then oversprayed it white all over, trying to give it as light a covering as possible, while still getting a good colour. BY spraying from an angle, the black stays in a lot of the recesses, giving you natural black-lining.

I then turned the pieces bottom-down, and sprayed the top of the plane ultramarine blue. I got a fairly nice transition from blue to white along the lenght of the fusilage, and carefully sprayed along to reimpose white along the belly. I then held the wings up and sprayed at an angle, just touching the tips of the wings and the tips of the tail-fins. Spraying at an angle is important, so that the spray doesn't 'splash' back on bits you dont want it to reach.

image

When everything was dry I started sticking it all together. The wings are held in place by the engines, and so I stuck these first, and only when these were in place did I stick the wings on top.

image

image

Next steps will be to put in shading and highlight, and I have bought some weathering powders, and will get to grips with using these as well.

I'm thinking of adding jaws to the front of the fusilage, to add some fancy detail this baby, which is a flash fighter.

The rockets I sprayed black and then white, and then sprayed the end of the noses red.

Sunday, June 1, 2008

Imperial Navy: Lightning I

Time for a break from fantasy, and I've been looking forward to adding to my imperial navy collection with my first lightning fighter:

Ever since I read a bat rep in White Dwarf, featuring George Dellapina's orc fighter-bomber, I've been hooked on air power in the 40K universe. With one thunderbolt under my belt, it was time for a lightning.

image

Lightning's come in two varients, strike and and fighter, and these bits are all supplies by Forge world (the strike variant replaces the autocanon with two more hellstrike missiles) and i decided I would use rare earth magnets to enable me to switch between these two varients, as well as take the pilot out, in case I ever wanted to use this plane as a piece of scenery in a battle.

First of all it's time for a good wash:

image

And then the bits are laid out for a day to dry before undercoating.

image

I found a drill bit of the same diameter of the rare earth magnets I was using, and the citadel drill fits these larger bits easily. (You can vary the depth of the hole, and stack magnets up to get a stronger hold.)

image

I put a blob of superglue into the hole, and then used a tooth pick to slide the magnet in. WARNING: rare earth magnets are very magnetic. This means they tend to fly around the work area, sticking to each other as well as anything else metal you have lying around the place. It's worth clearing your work-space of metal objects, keeping the bag of magnets well away, and then get back to work.

You can use pieces of metal to stick the various pieces of the plane together, but a better hold will come from using magets on both pieces. To make sure you have your + lined up with + and negative with negative I do this:

image

Once the glue is dry, I stick another magnet on top of the one in the hole. I then mark the 'up' side, and then take this magnet off, and when I come to stick the magent into the autocanon, I make sure the 'up' side is hidden.
image