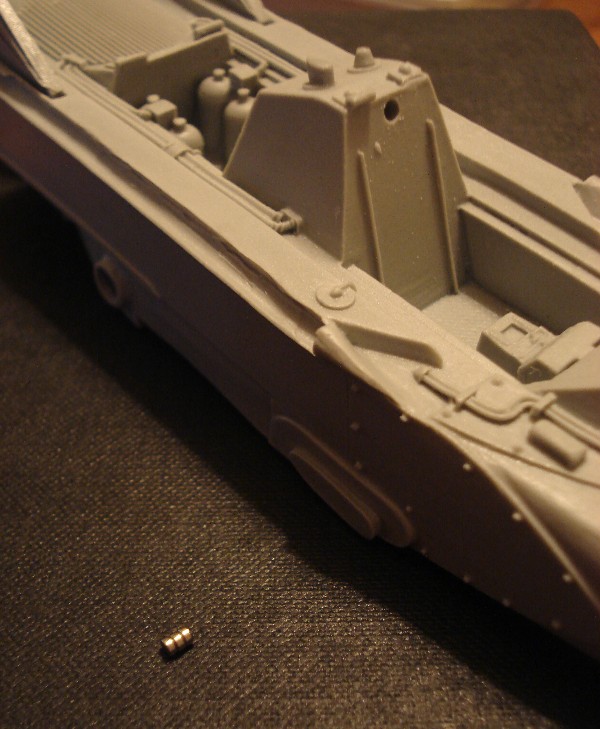
I talked earlier about putting more than one magnet into a hole: here's an example of the magnets used to keep the cockpit in place, in a hole drilled three-deep.
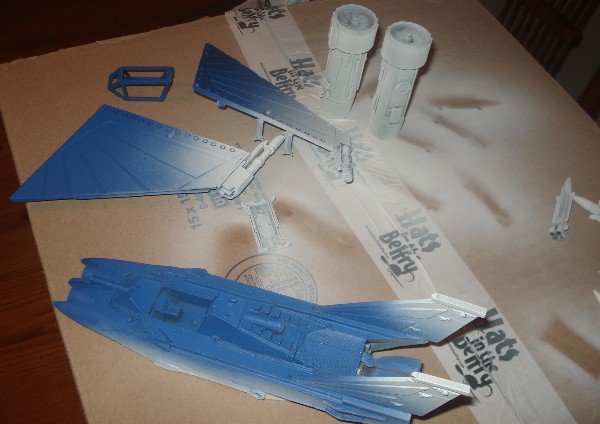
When all was ready it was time to spray the plane up. I sprayed the plane black first, and then oversprayed it white all over, trying to give it as light a covering as possible, while still getting a good colour. BY spraying from an angle, the black stays in a lot of the recesses, giving you natural black-lining.
I then turned the pieces bottom-down, and sprayed the top of the plane ultramarine blue. I got a fairly nice transition from blue to white along the lenght of the fusilage, and carefully sprayed along to reimpose white along the belly. I then held the wings up and sprayed at an angle, just touching the tips of the wings and the tips of the tail-fins. Spraying at an angle is important, so that the spray doesn't 'splash' back on bits you dont want it to reach.
When everything was dry I started sticking it all together. The wings are held in place by the engines, and so I stuck these first, and only when these were in place did I stick the wings on top.
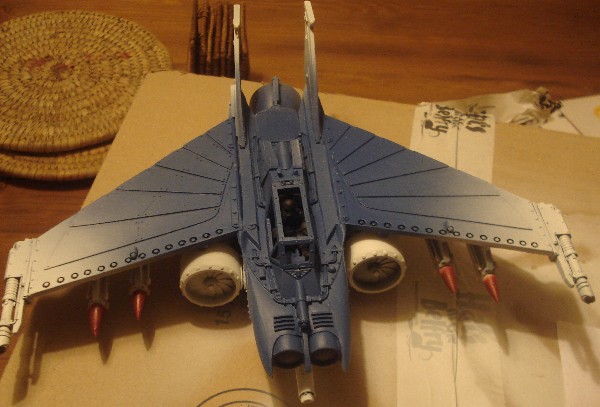

Next steps will be to put in shading and highlight, and I have bought some weathering powders, and will get to grips with using these as well.
I'm thinking of adding jaws to the front of the fusilage, to add some fancy detail this baby, which is a flash fighter.
The rockets I sprayed black and then white, and then sprayed the end of the noses red.

No comments:
Post a Comment